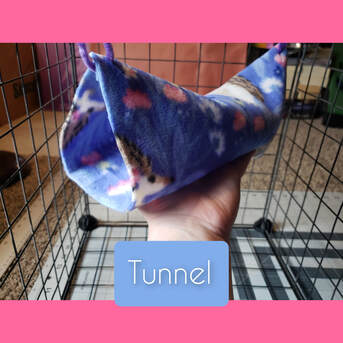
Final Product:
Instructions:
Below are images that go along with the written instructions. If you have any questions, or a step is not clear, feel free to reach out!
Materials:
- Blizzard or anti-pill fleece fabric (around 1/2 yard) (solid/print, whichever is preferred)
- Fabric scissors or sharp home scissors
- Marker (washable or sharpie)
- Ruler
- Hanging item (pipe cleaners, shower curtain rings, fabric strips, etc.)
Steps:
- Image 1: Cut a rectangle to your desired size. You'll want the vertical sides to be longer than the horizontal sides. The example is 14"x13".
- Image 2: Cut slits in all four corners.
- Images 3-4: Fold the rectangle in half and overlap the slits.
- Image 5: Feed the hanging item (pipe cleaners pictured) through both slits.
- Images 6-7: Hang and watch your little ones enjoy!
**For a thicker tunnel, you can double up the fabric layers. You can also make additional slits about 2"-3" from the other slits to hang the tunnel from and have a wider opening.


